Make it!
Gather together all the parts & pieces!
Conversation Candy Hearts
{Did you know Brach's now has ice cream flavor hearts?! Colors are pretty!}
*Toothpicks or small skewers
from a source so I can sell this amazing tape that I found! hang tight!
*Candy glassine bags {Bags are no longer available from this company
they have some like
this that could work.}
*Tiny stamps {I love this brand, Studio G Alphabet Stamp Sets}
*Vintage brads or new brads {I keep an eye out on Ebay & Etsy for the solid brass vintage ones}
*Scalloped or pinking edge scissors
*Card stock {I used cream}
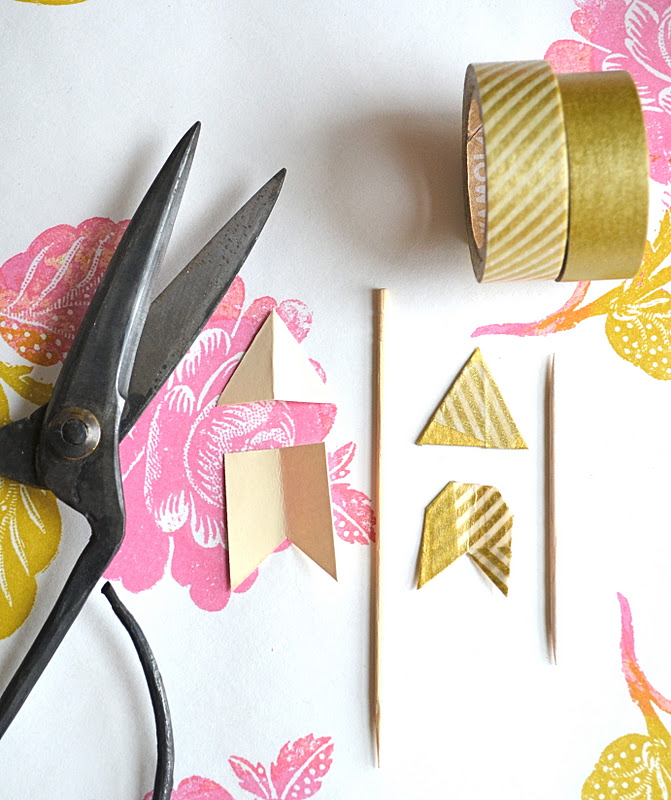
Cut desired size of rectangle for bottom of arrow, fold in half and notch your ends.
{Folding in half makes your points even, unfold when done cutting}
The left arrow {bottom piece} is only notched on the bottom
the right arrown {bottom piece} is notched on top & bottom.
Both ways are just fine!
Cover completely with Japanese washi tape. Fold over onto back and
clip tape when necessary so it keeps the card-stock shape.
Use multiple patterns & colors of tape. Layer and have fun with it.
Glue point and end of arrow onto your toothpick.
Fill candy into bag.
Fold over and use decorative scissors to cut pretty edging.
Use the Crop-a-dile and punch a hole in center top of bag.
Stamp initial onto silver snap tabs.
Insert into hole you punched in bag and fold and snap it together.
Stamp pink tag with a favorite stamp of yours.
{The "To:" stamp is found in this
set}
Punch a hole in the bag, very bottom center.
Put tag hole over the bag hole and insert brad through the holes.
Fold out brad ends on the back.
Now you're ready to attach your arrow.
Cut strip of metallic tape {or Japanese tape}
and secure arrow on the bag.
Little arrow bags of candy are ready for a "quiver" of lovely friends.
xo